Most homeowners pick their kitchen backsplash by scrolling Pinterest for 45 minutes and then walking into a tile showroom in Freehold or Toms River with a screenshot. That approach gives you a look you like. It doesn't tell you whether that material will hold up behind your stove, whether the layout works with your counter-to-cabinet dimensions, or whether you'll be scrubbing grease out of textured stone every weekend for the next decade.
What Is the Best Material for a Kitchen Backsplash?
Porcelain and ceramic are the best all-around choices for kitchen backsplashes. They resist heat, clean easily, and come in virtually any color, size, or pattern. For most kitchens in Monmouth and Ocean County, a quality porcelain tile in the $4 to $12 per square foot range delivers the best combination of durability and design flexibility.
But "best" depends on your priorities. Here's how the major materials compare:
| Material | Cost per sq ft | Heat Resistance | Maintenance | Best For |
|---|---|---|---|---|
| Porcelain | $4 - $15 | Excellent | Low | Behind stove, full walls |
| Ceramic | $2 - $8 | Good | Low | Budget-friendly full walls |
| Glass Mosaic | $8 - $25 | Excellent | Very Low | Accent strips, small areas |
| Natural Stone | $10 - $40 | Good | High (seal annually) | Statement walls, low-splash zones |
| Cement Tile | $8 - $20 | Good | High (seal + re-seal) | Bold pattern statements |
Glass mosaic is the easiest to clean because grease and oil wipe right off the non-porous surface. Natural stone looks stunning but requires sealing and more careful cleaning. If you cook heavily and the area behind your range gets hit with grease splatter daily, porcelain or glass is the practical choice.
Which Backsplash Layout Works for Your Kitchen?
The layout changes everything about how the tile reads in the room. Same tile, different layout, completely different feel. Here are the layouts we install most often and when each one works:
- Subway (offset/brick bond) - The classic. Works in every kitchen style. Best with 3x6, 4x8, or 4x12 tiles. Clean, timeless, and never looks dated.
- Herringbone - Creates movement and visual interest. Takes more labor to install because every tile is cut at an angle. Best when you want the backsplash to be the focal point.
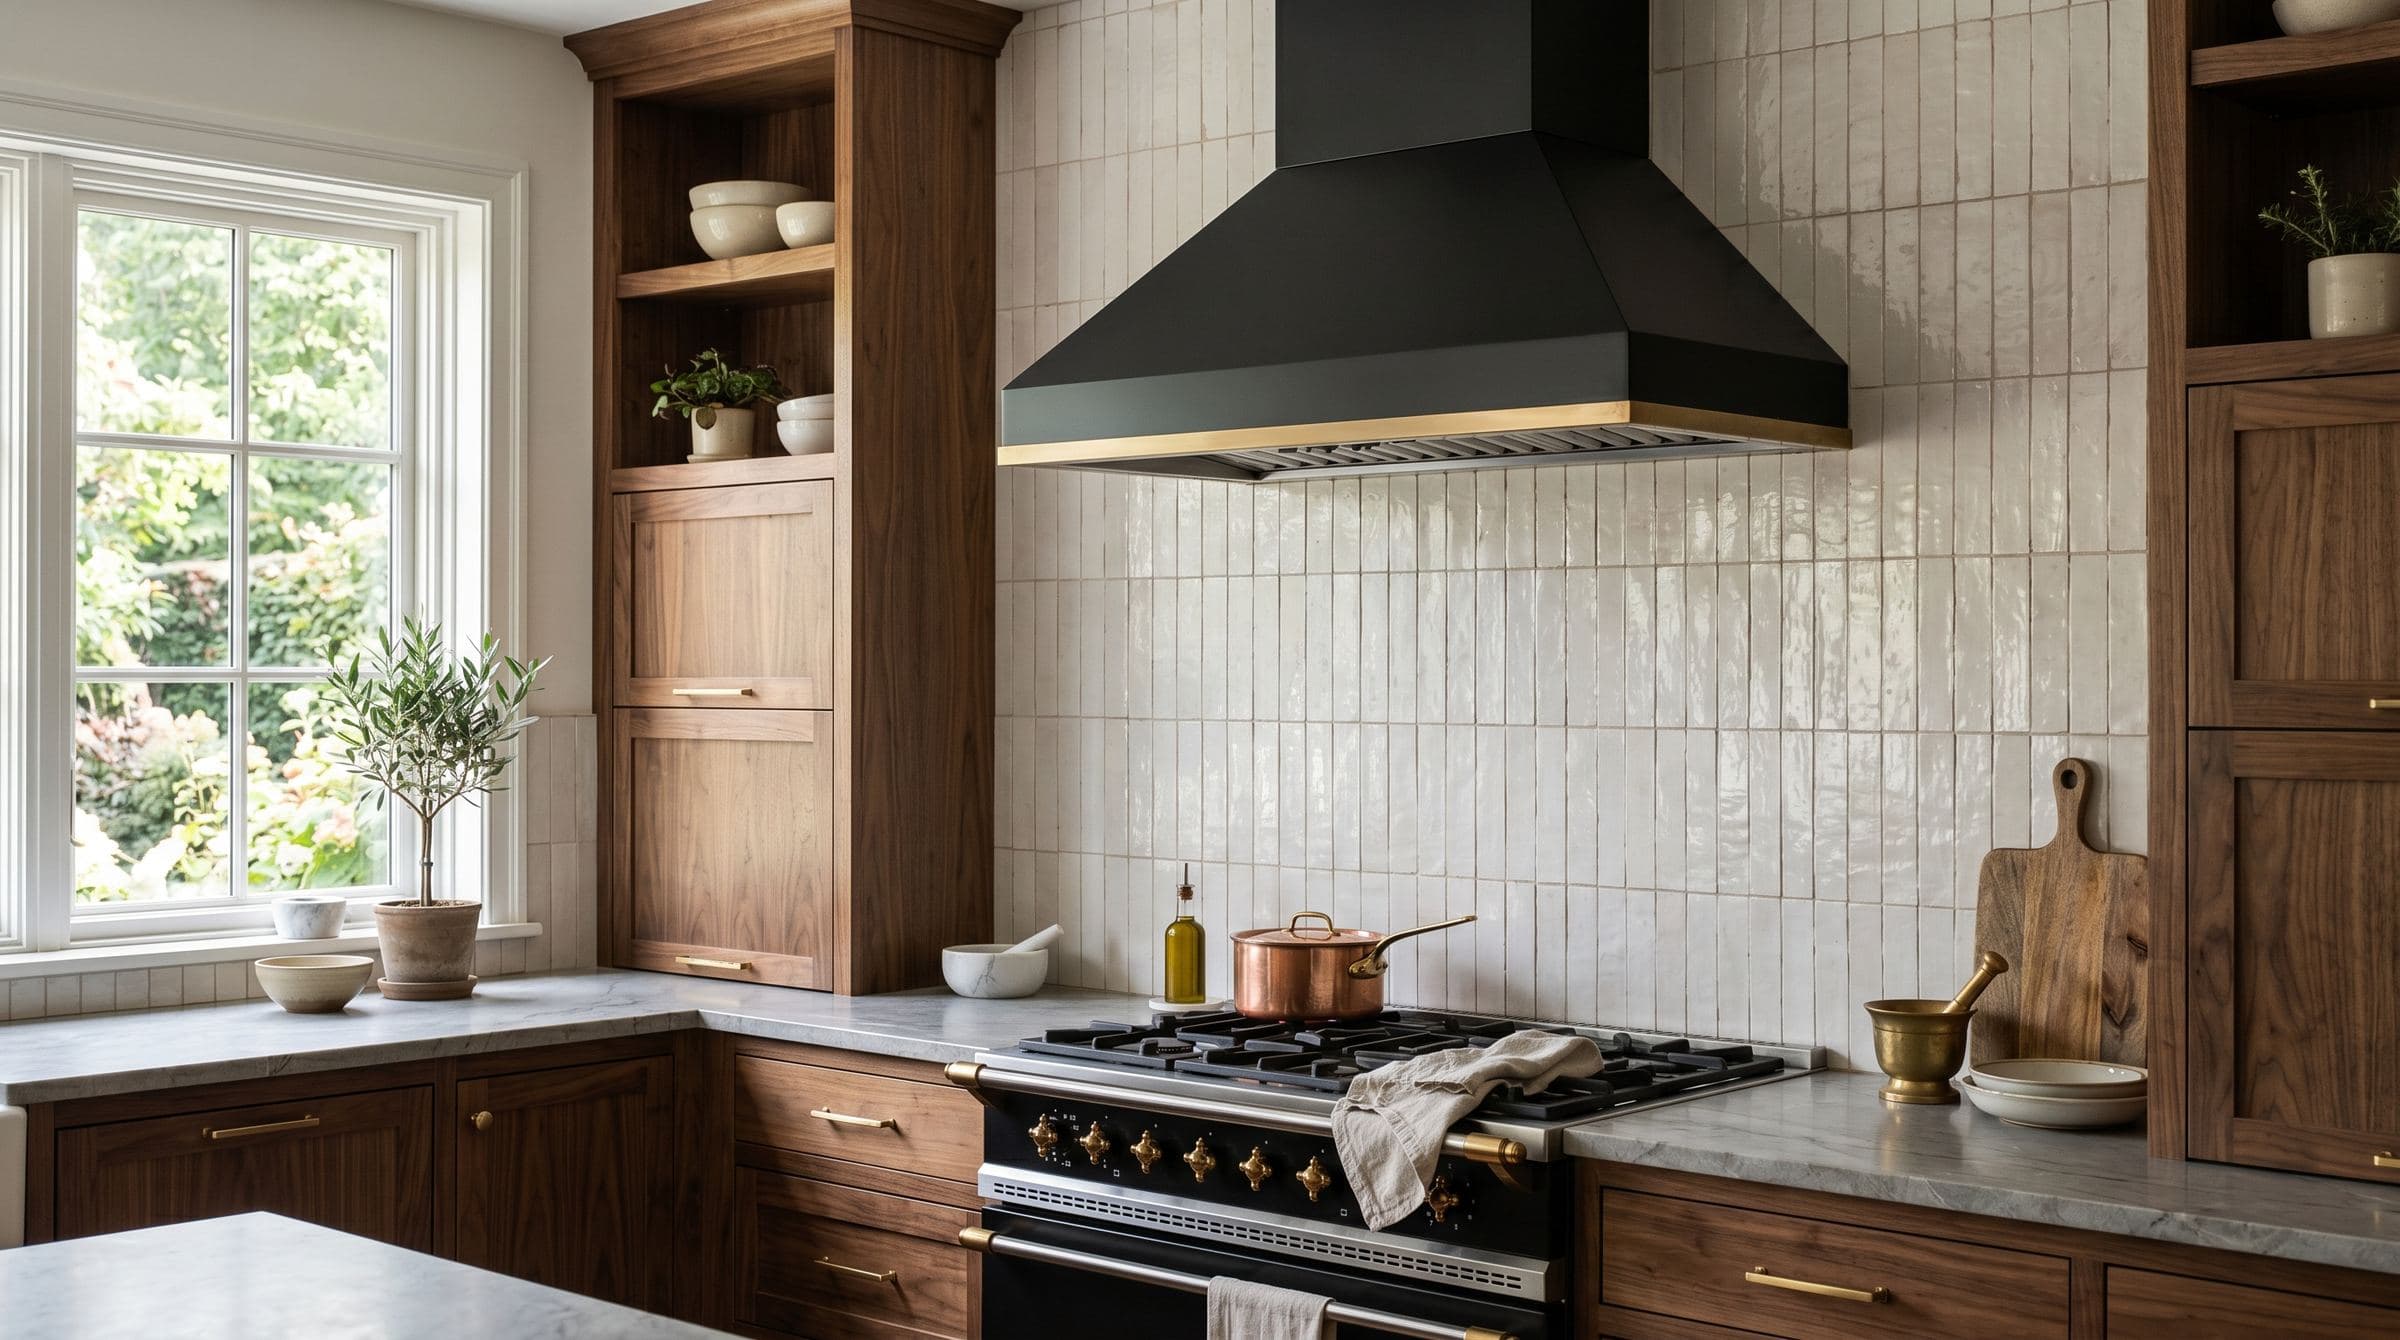
- Vertical stack bond - Modern and minimal. Tiles stacked directly on top of each other with no offset. Works well with elongated subway tiles (2x8, 2x10) and emphasizes ceiling height.
- Chevron - Similar energy to herringbone but with a sharper V-pattern. More contemporary, more expensive to install due to precise mitered cuts.
- Basketweave - A traditional pattern that works well in older homes. Pairs naturally with Carrara marble or tumbled travertine for a classic Jersey Shore home feel.
The pattern you choose affects installation cost. A standard subway layout with offset runs about $12 to $18 per square foot for labor. Herringbone and chevron add 20 to 30 percent to that number because of the additional cuts and layout time. We always do a dry layout first to plan the pattern and minimize awkward cuts at edges and outlets.
How Much Does a Kitchen Backsplash Cost in New Jersey?
For a typical kitchen backsplash in Monmouth or Ocean County, the total installed cost breaks down like this:
- Small kitchen (15-20 sq ft) - $800 to $2,000 installed, depending on material and pattern
- Average kitchen (25-35 sq ft) - $1,500 to $4,000 installed
- Large kitchen with full-height backsplash (40-60 sq ft) - $3,000 to $7,500 installed
Material is the biggest variable. A ceramic subway backsplash on a standard kitchen runs around $1,200 to $1,800 total. That same kitchen with Calacatta marble in a herringbone pattern could hit $5,000 to $7,000 between material and the additional labor. For a deeper breakdown of material costs, our porcelain vs. ceramic guide covers the differences that matter.
Should Your Backsplash Go to the Ceiling?
Full-height backsplashes, running tile from the countertop all the way to the ceiling, have become one of the most requested upgrades in kitchen remodels over the past two years. And for good reason. A full-height backsplash makes the kitchen feel taller, more finished, and more intentional than the standard 18-inch strip between counter and cabinets.
The trade-off is cost. You're tripling the square footage of tile and labor. A 30-square-foot standard backsplash becomes 80 to 90 square feet when it runs floor to ceiling. But if the kitchen is the centerpiece of your home, especially in an open-concept layout, the visual impact is worth the investment.
One thing to consider: if you have upper cabinets on most walls, full-height tile only makes sense on the exposed walls and the range wall. Running expensive tile behind cabinets where nobody will see it is wasted money.
What Are the Biggest Mistakes Homeowners Make with Backsplashes?
After installing backsplashes across Red Bank, Freehold, and throughout both counties, we see the same mistakes repeatedly:
- Choosing textured natural stone behind the stove. Tumbled travertine and rough-cut slate look beautiful on the wall. Behind a cooktop, they become grease traps. Every crevice catches splatter that smooth tile would wipe clean in seconds.
- Ignoring the grout color. A white subway backsplash with bright white grout looks stunning on install day. Six months of cooking later, that grout behind the range is yellowing. Use a slightly off-white or light gray grout, or go with epoxy grout behind the stove. We cover this in detail in our grout color selection guide.
- Not planning outlet placement before choosing a pattern. Outlets break up the pattern. On a simple subway layout, this is easy to work around. On a herringbone or chevron, a poorly placed outlet cover can ruin the visual flow. We plan every outlet cut during the dry layout stage.
- Picking tile based on a single sample. A 4x4 sample chip doesn't show you how the pattern reads across 30 square feet. Always look at installed photos or large display boards before committing.
How Long Does a Backsplash Installation Take?
Most kitchen backsplash installations take 1 to 2 days. Day one covers substrate prep, layout, and tile setting. Day two is grouting, sealing, and cleanup. A complex pattern like herringbone on a large kitchen might stretch to day three. We handle everything from countertop edge to ceiling, including clean outlet cuts and precise integration around windows and cabinet edges. For details on our backsplash installation process, including how we handle tricky layouts and material-specific requirements, visit our service page.
Ready to Pick Your Backsplash?
A backsplash is one of the fastest, most visible upgrades you can make to a kitchen. The right material and layout transform the entire room. JL Tile & Stone provides free estimates and can walk you through material options on-site. Call Jesse at (848) 210-1946 or request a free estimate to get started.