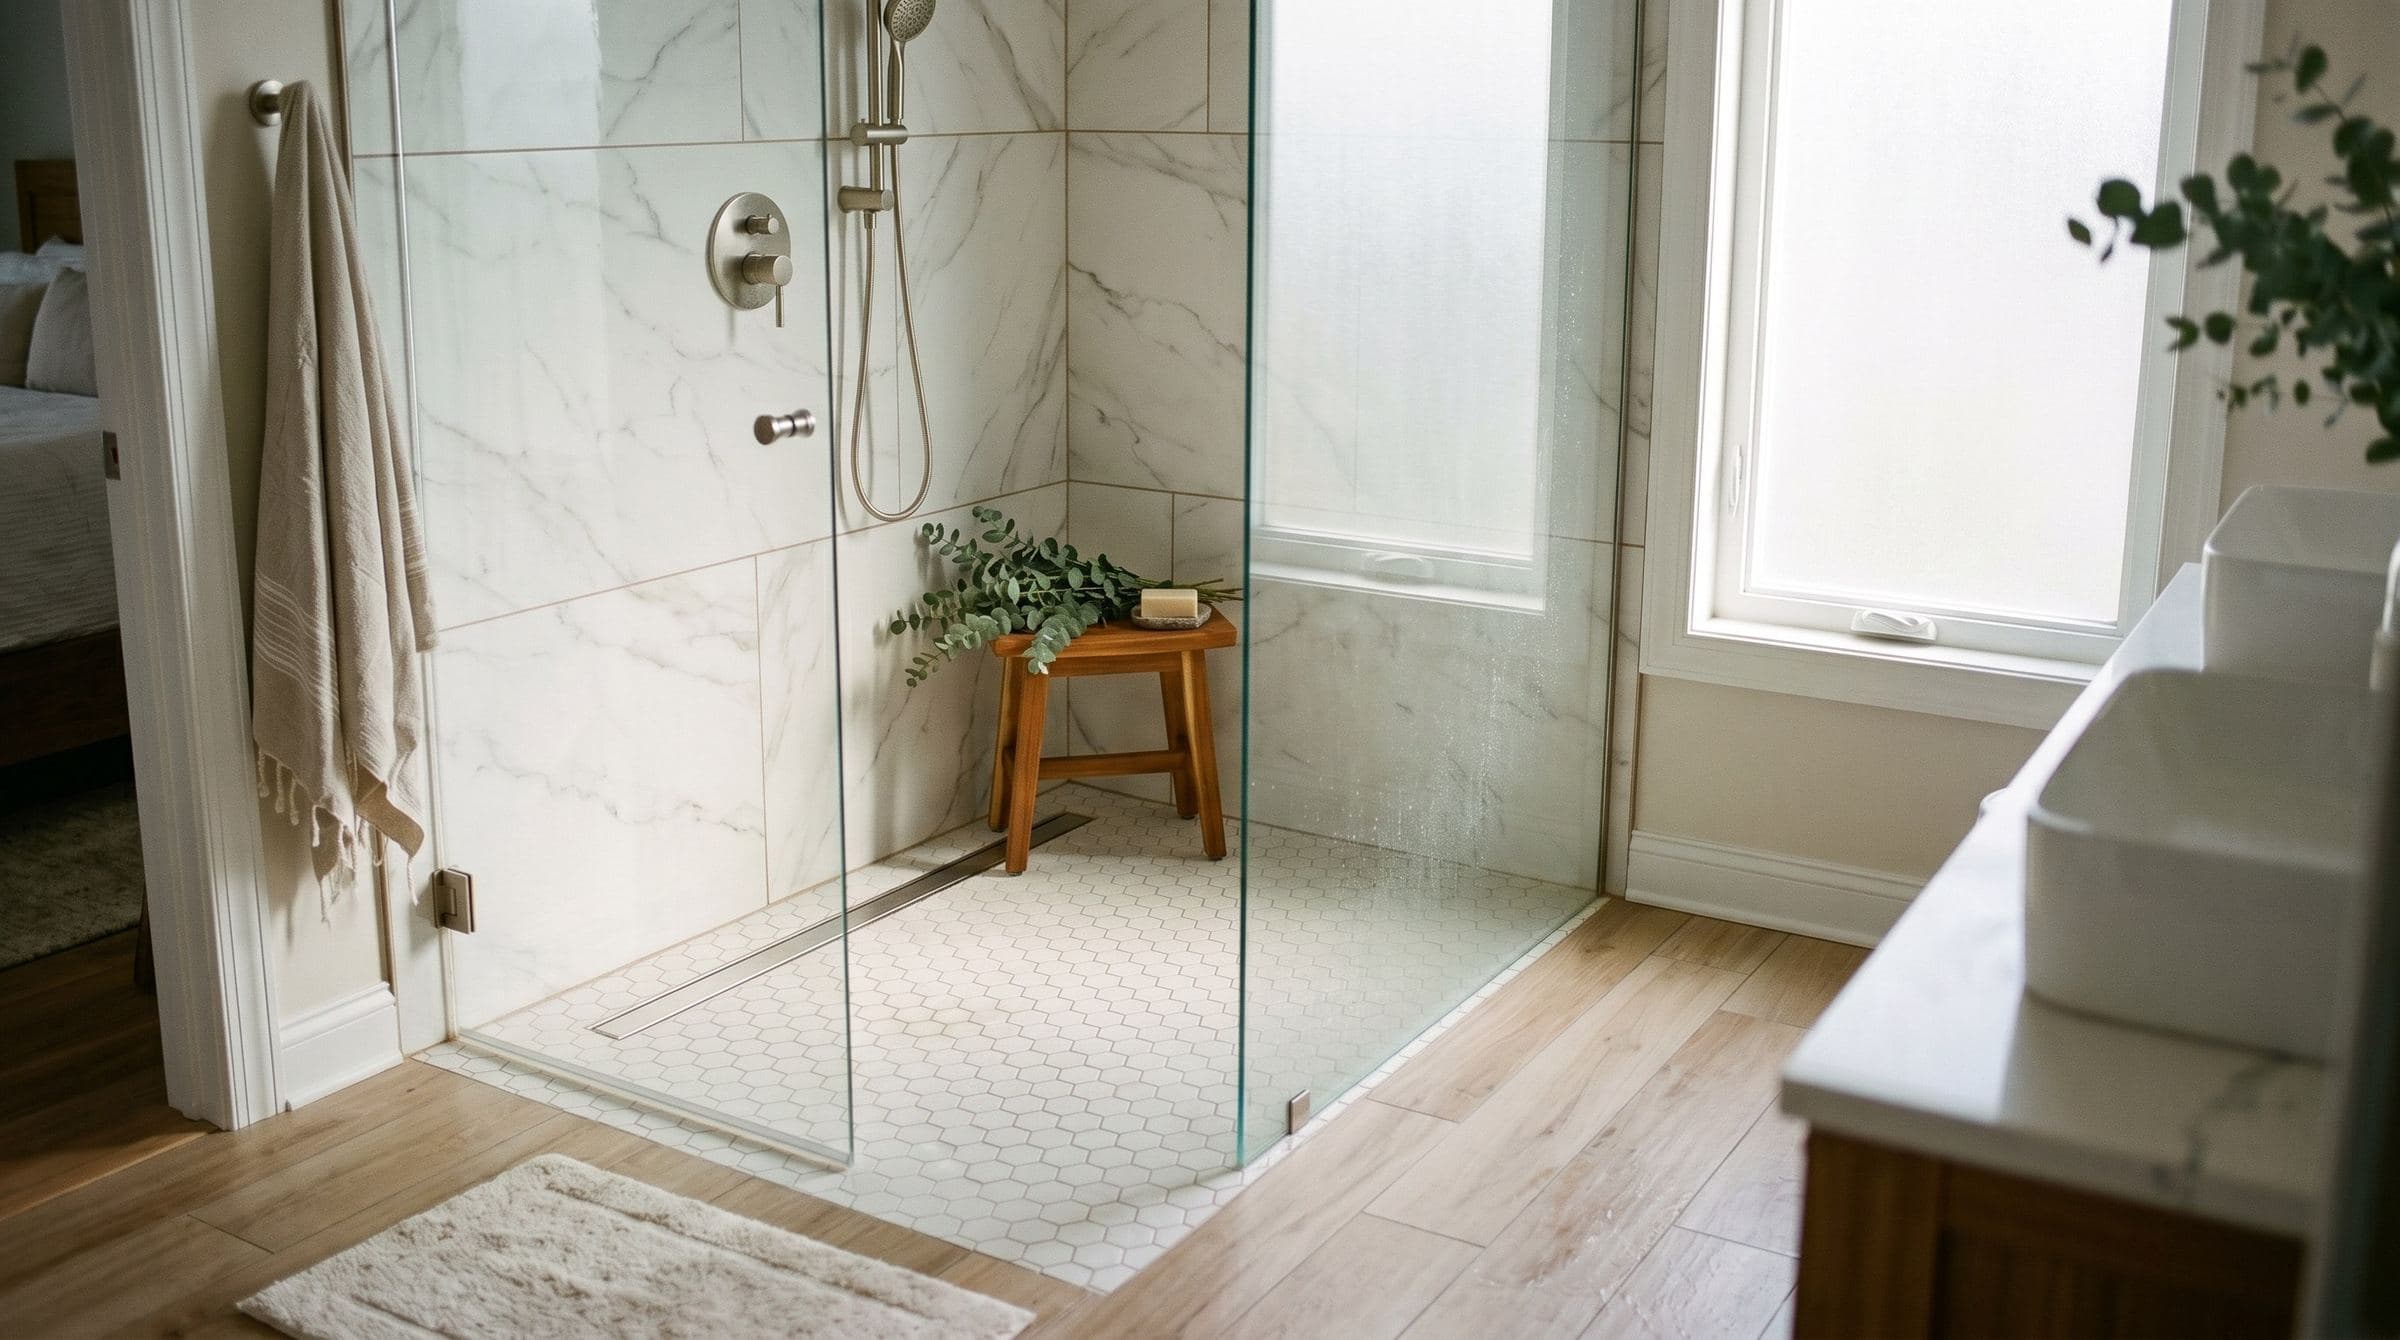
The curbless shower has gone from a niche aging-in-place request to the single most-asked-for feature on the primary bathroom remodels we are quoting across Monmouth and Ocean County this year. Homeowners in Spring Lake, Sea Girt, Manasquan, Bay Head, and Long Beach Island walk into the showroom with a phone full of photos: a shower with no curb, no glass door, the floor running unbroken from the bathroom into the shower and pitching to a thin slot drain against the back wall. It looks effortless. That is exactly the problem. The effortless look is the hardest install in residential tile, and the reason is that everything that makes it look easy has to be built into the structure before the tile ever goes down.
A curbless shower, also called a zero-threshold or roll-in shower, removes the dam that normally keeps water inside the shower. On a standard shower, the curb is a backstop. If the slope is slightly off or the waterproofing is marginal, the curb still holds the water in. A curbless shower has no backstop. The slope and the waterproofing are the only defense. Get either one wrong and the water goes where you do not want it: across the bathroom floor, under the vanity, into the subfloor, downstairs through the ceiling. This is the post we wish every shore-area homeowner read before signing for a curbless shower, because the difference between a curbless shower that works for 30 years and one that floods the bathroom is entirely in the parts you cannot see.
Why Is a Curbless Shower So Much Harder to Build?
A normal shower pan sits on top of the bathroom subfloor. The curb contains the water, the floor inside slopes to the drain, and the bathroom floor outside the shower stays flat and dry. A curbless shower has to do something the structure was never framed for: the shower floor has to be lower than the surrounding bathroom floor so water runs into the shower and toward the drain, not out into the room.
There are only two honest ways to get that drop, and both have to be decided before the bathroom is even demoed:
- Drop the joists or the subfloor in the shower area. On a renovation this means a framer or carpenter recesses the floor framing under the shower footprint so the finished shower floor sits flush with, or just below, the bathroom floor. This is the right way on a new build or a full gut, and it is structural work, not tile work.
- Build a ramp in the bathroom floor up to the shower. When the joists cannot be dropped, the bathroom floor is gently ramped up over a few feet so the shower floor can be built on top of the existing subfloor while staying flush at the entry. Done well it is invisible. Done badly it is a trip hazard and looks like a mistake.
Either path has to be planned at the framing stage. The single most common reason a curbless shower goes wrong is that nobody figured out the floor drop until the demo was done and the tile was on order. By then the only options are a visible ramp, a transition strip that defeats the flush look, or tearing back into the framing. We turn down curbless jobs where the structure was not planned for it, because there is no honest way to fake it after the fact.
The Drain Decides Everything
On a curbless shower the drain choice drives the slope, the tile size, and the look. There are two real options.
Linear drain against the wall
The slot drain you see in every magazine photo. It runs along one wall, usually the back wall under the shower head, and the entire shower floor slopes in one direction toward it, like a single ramp. This single-plane slope is what lets a curbless shower use larger floor tile and still drain correctly, and it is why almost every clean, modern curbless shower uses a linear drain. We specify Schluter Kerdi-Line or Infinity Drain stainless units on these installs. Budget $400 to $900 for a quality linear drain, more than a center drain, and worth it on a curbless build.
Center point drain
The traditional round drain in the middle of the pan. The floor slopes to it from all four sides, which means small mosaic tile is mandatory on the floor because only small pieces follow a four-way slope without lippage and standing water. A center drain works fine on a curbless shower and costs less, but it forces the mosaic-floor look. If the homeowner wants large-format tile running into the shower, a center drain cannot do it. We walk through the full size-versus-slope math in our guide to shower floor tile sizes for Jersey Shore bathrooms, and it applies double on a curbless build where the floor is continuous with the room.
Waterproofing: The Part That Is 100 Percent of the Job
On a curbless shower there is no curb to stop a waterproofing failure, so the membrane has to be continuous and perfect from well inside the shower out across the bathroom floor far enough that any splash or overspray lands on waterproofed substrate. This is where the install either holds for decades or fails in year two.
The way we build it:
- Full bonded membrane system. Schluter Kerdi or Laticrete Hydro Ban over the entire shower floor, up every wall a minimum of six inches above the shower head, and extending out across the bathroom floor past the shower opening. Not just the shower footprint. The transition zone has to be waterproof too.
- Sloped substrate before the membrane. The pitch is built into the substrate, either a dry-pack mud bed or a pre-sloped foam tray cut for the linear drain, before the waterproofing goes on. The membrane follows the slope. You cannot fix a flat pan with extra thinset under the tile.
- Drain bonded to the membrane. The drain flange is sealed directly into the waterproofing so it becomes one continuous surface from membrane to drainpipe. The cheap version glues the drain in and runs the membrane next to it, leaving a path for water to migrate around the flange. This is the same failure that drives most of the call-backs we cover in our shower tile cracking and failure guide.
- Flood test before any tile. Plug the drain, fill the pan, mark the water line, wait 24 hours. If the level drops, the waterproofing leaks and it gets fixed before tile. This is the single step cheap installs skip, and on a curbless shower skipping it is reckless because there is no curb to contain the eventual leak.
Tile and Grip: What Actually Goes on the Floor
Because a curbless shower floor often flows into the bathroom floor visually, homeowners want the same tile to run through. That is possible with a linear drain and the right tile, but the shower-floor portion still has to meet a slip standard the dry bathroom floor does not.
- Slip resistance is non-negotiable. Any tile in the wet zone needs a Dynamic Coefficient of Friction (DCOF) of 0.42 or higher per the ANSI standard for wet barefoot areas. Most polished and many large-format porcelains fall short. We will not put a tile under 0.42 DCOF on a shower floor regardless of what the design board wants, because that is how a wet floor puts someone down.
- Large-format only with a linear drain and a perfect substrate. A 12x24 running into the shower can work over a single-plane linear-drain slope, but it demands a dead-flat substrate, 95 percent mortar coverage, and a leveling system in every joint. Lippage on a wet floor is a stubbed toe at best.
- Mosaic is still the safe, classic call. Two-inch hex or 2x2 mosaic conforms to the slope, grips wet feet, and never has a lippage problem. On a center-drain curbless shower it is the only correct floor.
- Epoxy grout, always. The continuous wet floor sees more water than any other surface in the house. Epoxy grout resists the mildew and breakdown that ruins cement grout. Grout color matters too, and we cover how to pick it without overthinking it in our grout color guide. On a shower floor, go with a mid-gray or taupe, never white.
What a Curbless Shower Costs in Monmouth and Ocean County
A curbless shower runs more than a standard shower for real reasons, not markup. The added cost lands in three places: the structural floor drop or ramp framing, the linear drain, and the extra waterproofing and labor that the continuous wet zone demands. On a typical shore-area primary bath, expect a curbless shower to add roughly $2,500 to $5,000 over a standard curbed shower with a center drain, depending on whether the framing can be dropped or has to be ramped and how far the tile runs into the room. That is on top of the rest of the bathroom budget. For where a full bathroom remodel lands in this area, see our breakdown of the real cost of a bathroom remodel in New Jersey.
The honest take: a curbless shower is worth it when the look matters to you, when aging-in-place or accessibility is a real factor, or when the bathroom is large enough that a frameless, doorless wet zone reads as luxury rather than as a puddle waiting to happen. It is not worth doing on the cheap. A curbless shower is the one place in tile where cutting corners on the parts you cannot see guarantees you pay twice.
How JL Tile Builds a Curbless Shower
We plan the floor drop at the framing stage, before demo, so the finished shower sits flush with no visible ramp where the structure allows it. We default to a wall-side linear drain with a single-plane slope so the floor reads clean and drains correctly. Every curbless shower gets a fully bonded Schluter Kerdi or Laticrete Hydro Ban membrane carried out past the shower opening, a drain bonded directly to that membrane, a 24-hour flood test before any tile, and epoxy grout on the floor. We spec the floor tile to a 0.42-plus DCOF wet rating without exception. If the geometry or the framing will not support an honest curbless build, we say so and show you the curbed alternative that will actually last.
If you are planning a primary bathroom remodel in the Monmouth or Ocean County shore area and a curbless shower is on the wish list, come into the showroom or have us out for a site visit. We will tell you straight whether your floor can support a true zero-threshold build and walk through the slope, drain, and waterproofing plan line by line before you order a single tile.