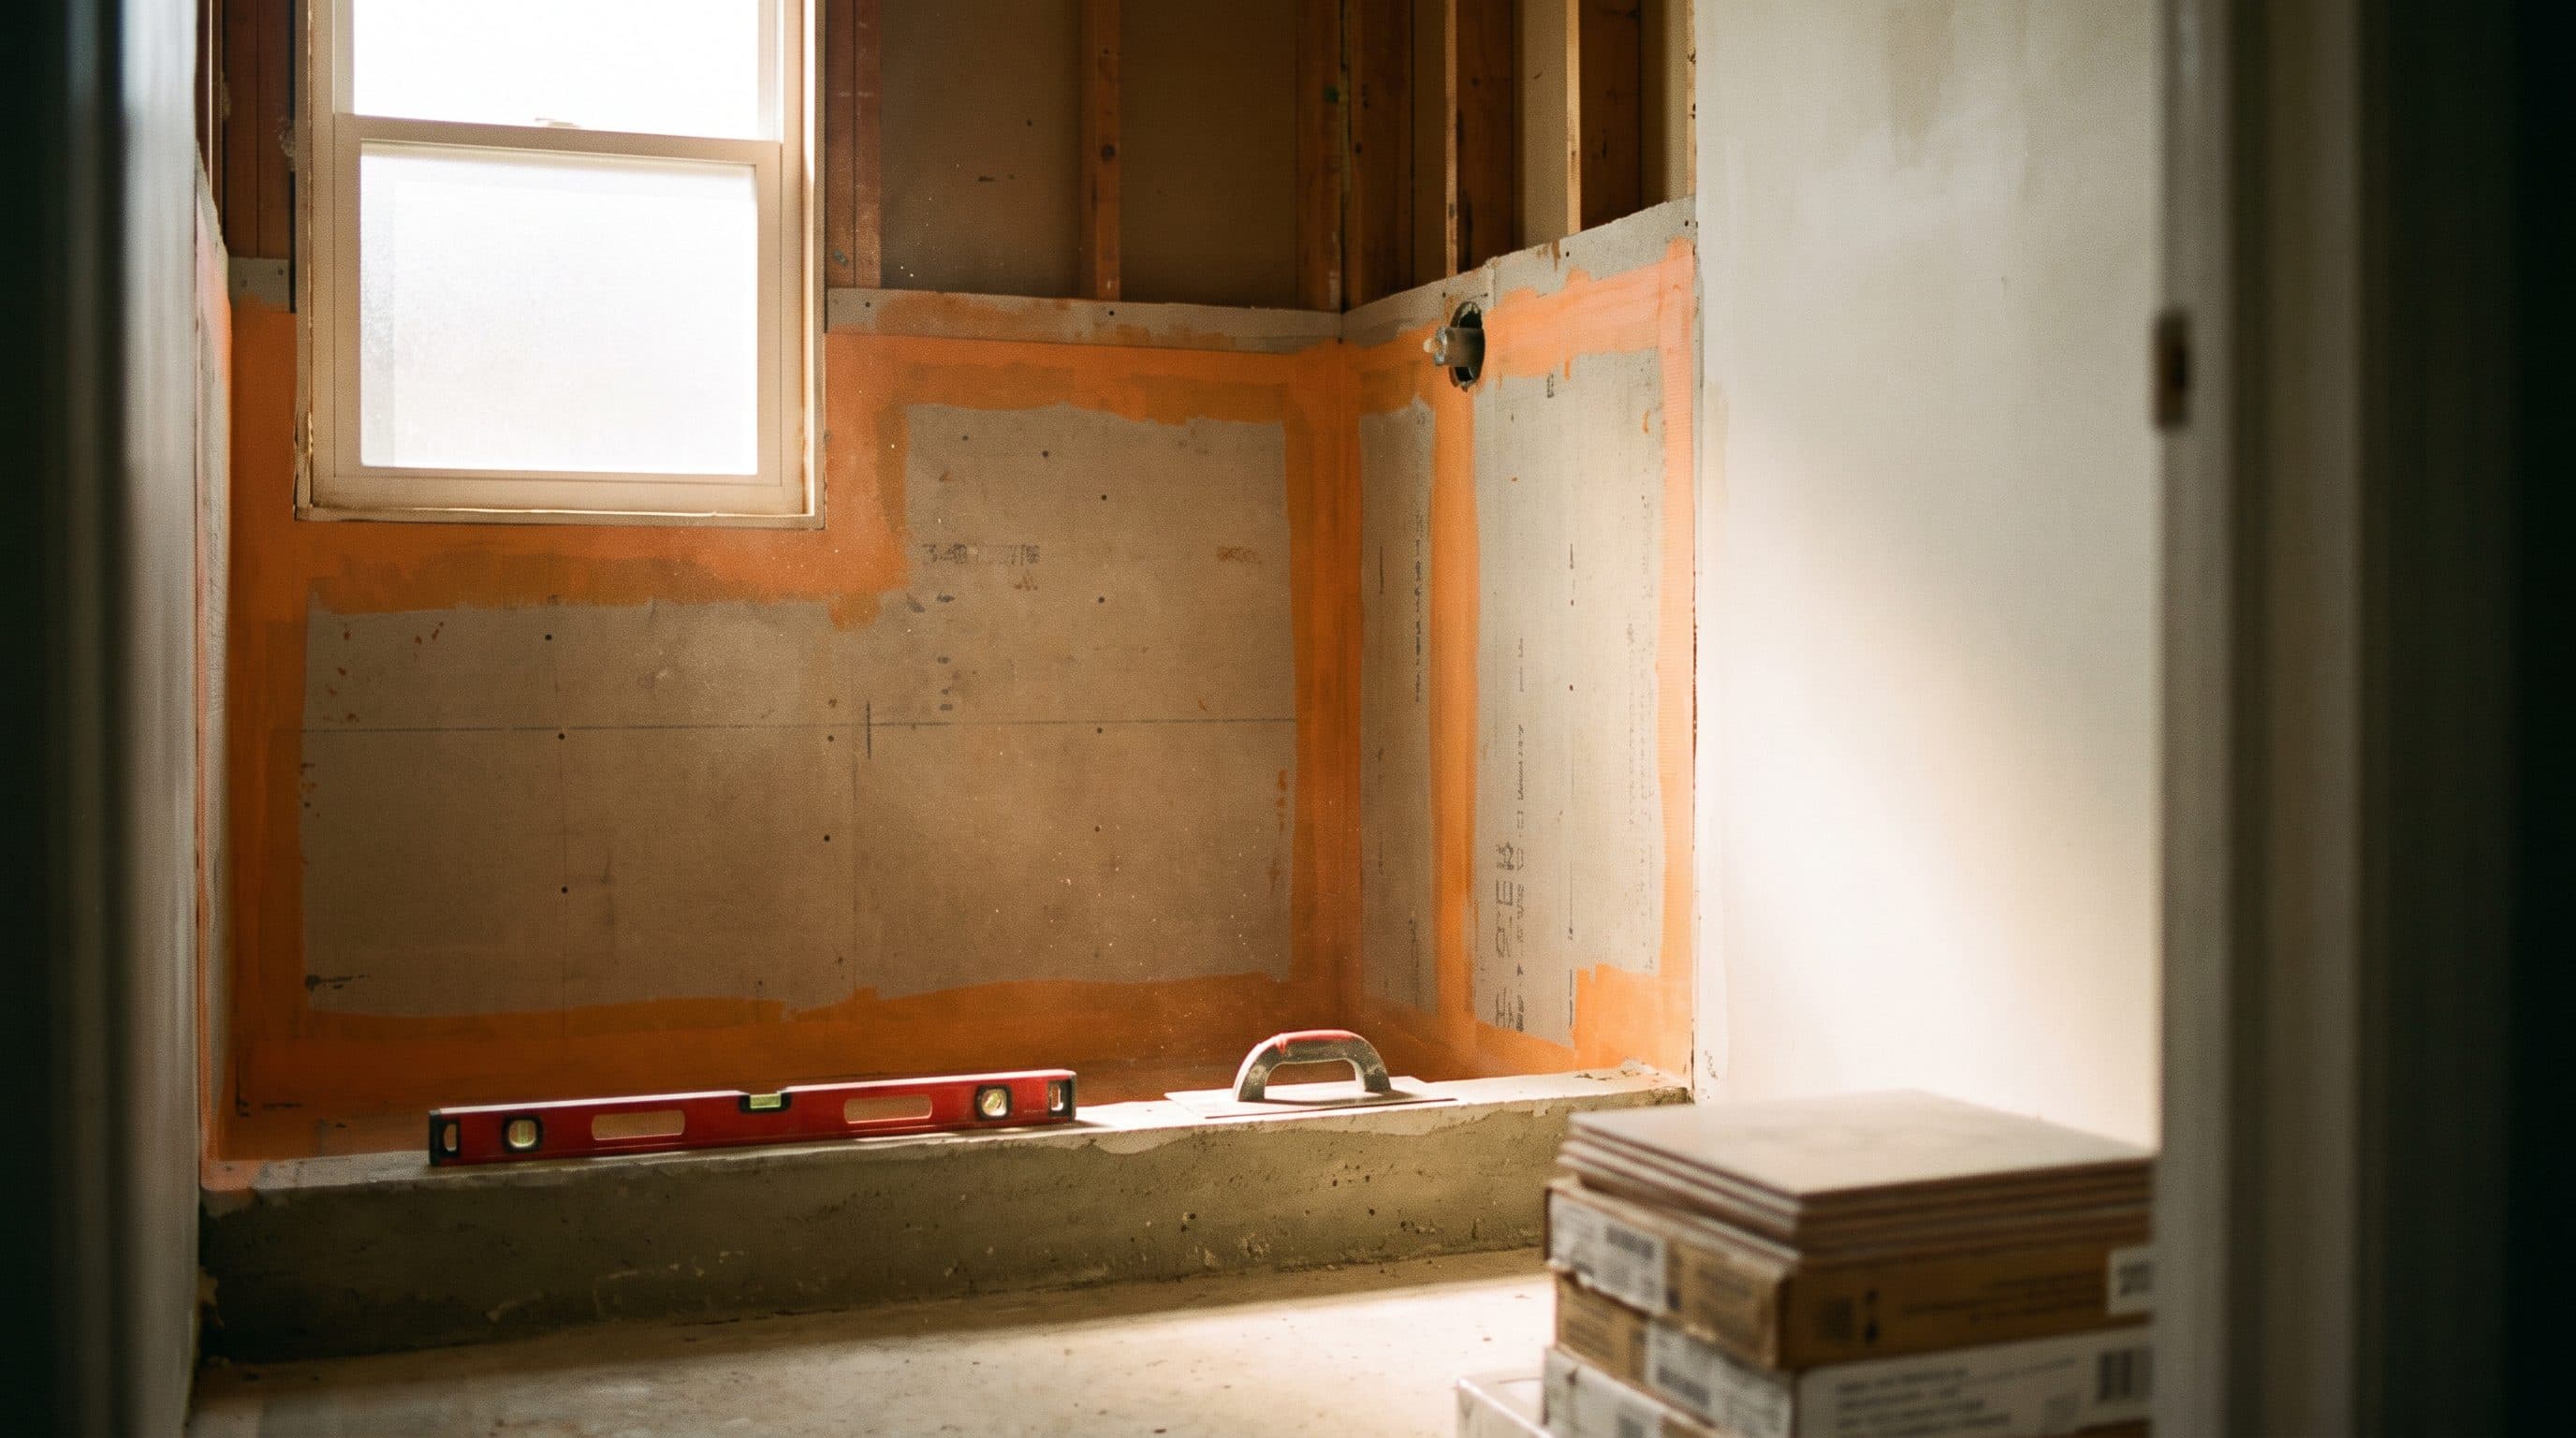
Short answer: your shower is ready to tile when the waterproofing is finished and tested, the walls sit flat within 1/4 inch over 10 feet, the pan slopes 1/4 inch per foot to the drain, and every inside corner and penetration is sealed. Run this pre-tile substrate check before anyone sets a tile. Updated September 2026.
This is the question homeowners in Monmouth and Ocean County ask us at exactly the wrong moment: the tile is already going up. The framing is done, the waterproofing is in, the tile is stacked in the hallway, and now something feels off. The honest truth is that the last cheap moment in a shower build is the day before the first tile is set. Everything you can fix for a few dollars now costs a full tear-out later, because once the tile is on, the layers that decide whether a shower lasts are buried for good.
Jesse has been setting tile across the Jersey Shore for over 30 years, and we have torn out plenty of two-year-old showers in Toms River and Brick that failed because nobody checked the substrate before the tile went on. So here is the pre-tile check we run ourselves on every shower, written so you can run it too, whether we are doing the work or you are grading someone else's before you pay for it.
Why Is the Moment Before Tile the Last Cheap Fix in the Whole Project?
The moment before tile is the last cheap fix because everything that keeps a shower dry lives underneath the tile, where you can never see it again once the field is set. Waterproofing, wall flatness, the pan slope, the corner treatments, the substrate itself: all of it is a five-minute correction while it is exposed and a five-figure tear-out after tile, grout, and glass are on. A shower does not leak through the tile. It leaks through a corner that was never sealed or a pan that never sloped, and the tile just hides it while the wall behind rots. The pre-tile check exists so the failure gets caught while it is still a cheap fix instead of a demo.
Is the Waterproofing Actually Done, and How Would You Know?
The waterproofing is done when there is a continuous bonded membrane covering every wet surface, running unbroken through the corners and the curb, with nothing skipped behind a bench or a niche. A shower is waterproofed behind the tile, not by the tile. Grout is not waterproof and neither is the tile joint, so the membrane is the only thing standing between shower water and the framing. Bonded sheet membranes and liquid-applied membranes that meet the ANSI A118.10 waterproofing standard are the systems that actually work, and the ones we install are Schluter Kerdi, Laticrete Hydro Ban, and RedGard. What to look for while it is still visible:
- Full coverage, no bare backer board. On a sheet system the whole wall reads as one continuous orange or gray membrane. On a liquid system it reads as an even, gap-free color coat, usually two coats, with no thin spots where the board shows through.
- Corners and changes of plane reinforced. Every inside corner, the pan-to-wall transition, and the curb should carry a preformed corner piece or banding, not just membrane stretched across a right angle.
- Penetrations sealed. The valve, the mixer, and any niche have a sealed collar or a flashed edge. These are the spots water finds first.
- The pan tied to the walls. The floor membrane and the wall membrane overlap and bond so there is no seam at the most flooded joint in the shower.
If nobody photographed the waterproofing before the tile went on, nobody can prove it was done, and that alone is worth stopping for. This is the same failure that shows up later as cracking and hollow tile, which we break down in why your shower tile is cracking.
How Flat Do the Walls and Floor Need to Be Before Tile?
The substrate has to be flat within a published tolerance before tile, and it is a number you can measure, not a matter of taste: under the ANSI A108.02 standard, the surface must be flat to within 1/4 inch in 10 feet for tile with edges shorter than 15 inches, and tighter, within 1/8 inch in 10 feet, for large-format tile 15 inches or longer on a side. That flatness is what keeps you inside the acceptable tile lippage the standard allows, the condition where one tile sits proud of the next and catches your toe or your eye three steps into the job. A wavy wall does not get fixed by the tile. It gets amplified, because a rigid tile cannot bend to follow a hump, so it bridges the low spot and leaves a hollow void or tips up at the edge. Lay a straightedge across the walls and floor and look for daylight under it. Here is what the standard means in plain terms:
| Surface and tile | ANSI A108.02 flatness allowed | Why the tolerance is set there |
|---|---|---|
| Standard tile (edges under 15 inches) | 1/4 inch in 10 feet | Small tiles tolerate minor waves without visible lippage |
| Large-format tile (15 inches or longer) | 1/8 inch in 10 feet | Long tiles telegraph every hump; a tighter substrate is required |
| Shower floor / pan | Flat, then sloped to drain (see below) | Flatness plus positive slope is what actually drains water |
| Subfloor deflection (framed floors) | L/360 for ceramic and porcelain | A floor that flexes past this cracks tile and grout over time |
That last row matters more than most homeowners realize. If the shower sits on a framed floor rather than a slab, the floor structure itself has to be stiff enough to meet an L/360 deflection limit for ceramic and porcelain, and stiffer still for natural stone. A bouncy floor cracks a perfect tile job from underneath, which is the same freeze-and-flex logic we cover for the layers below a bathroom in tile underlayment at the Jersey Shore.
Does the Shower Pan Slope Enough to Drain?
The shower pan has to slope a minimum of 1/4 inch per foot toward the drain, and this is a test you can run yourself in two minutes with a level and a cup of water. Set a torpedo level on the pan from a few directions and confirm it reads downhill toward the drain everywhere, with no flat spots and no back-pitch toward a corner. Then pour a cup of water on the far edge of the pan and watch it: it should travel to the drain and leave nothing standing behind. Water that pools in a corner or sits in the field is telling you the slope is wrong, and a shower floor that does not drain is a shower floor that grows mildew and works on the grout every day. The pre-slope under the membrane matters as much as the finish slope, because a flat pre-slope traps water under the tile even when the surface looks fine.
What Should a Pre-Tile Substrate Check Confirm at the Corners and Penetrations?
A pre-tile substrate check has to confirm that every inside corner, seam, and penetration is sealed and reinforced, because those are the exact spots a shower leaks from first. The flat field of a wall rarely fails. The joints do. Run this readiness checklist across the whole shower before you agree it is ready to tile, and mark anything that is not a clear pass:
| Check | Ready to tile | Stop and fix first |
|---|---|---|
| Waterproofing membrane | Continuous, no bare board, corners banded | Gaps, thin spots, exposed backer |
| Inside corners and curb | Preformed corners or reinforced banding | Membrane stretched over a bare 90-degree corner |
| Valve and niche penetrations | Sealed collar or flashed edge | Open cut around the valve, unflashed niche |
| Wall flatness | Within 1/4 inch in 10 feet (1/8 for large format) | Visible waves, humps, or a bowed stud line |
| Pan slope | 1/4 inch per foot to the drain, water clears | Flat spots, back-pitch, standing water |
| Substrate stability | Solid, no flex underfoot, fasteners set | Spongy floor, loose board, popped screws |
If any row lands in the right-hand column, the shower is not ready to tile yet, no matter how good the tile is or how eager the schedule is. Every one of those fixes is cheap while the substrate is open and expensive once it is buried.
Once the check passes, take five photos before the first tile goes on, because those images are the only record you will ever have of the layers that decide whether the shower lasts. Once the tile is set, these stages are gone, and if a leak shows up in year two the photos are the difference between a warranty conversation and a guessing game. The sequence we tell every homeowner to shoot:
- The full waterproofed walls, wide enough to show continuous membrane with no bare board anywhere.
- Each inside corner and the curb, close enough to show the preformed corner or reinforcing band.
- The valve and the niche, showing the sealed collar and the flashed niche edges.
- The pan with a cup of water on it, mid-drain, proving the slope actually carries water out.
- A straightedge on the wall, so the flatness is documented, not just claimed.
This is exactly the kind of work you can see on our real in-progress showers, like the Silverton Blue Onyx walk-in shower and our Toms River master bath, where the stages get documented before the tile hides them.
What Does Catching This Now Cost vs. Finding It in Year Two?
Catching a substrate problem now costs a few dollars and a delayed tile day; finding it in year two costs the whole shower. A skipped corner seal is a five-minute fix before tile and a full tile-and-glass tear-out after a leak has been rotting the framing behind the wall for eighteen months. A flat pan is a bag of mud and an hour before tile and a demo-to-studs rebuild after the mold shows up. This is why the honest tile setters push back on a rushed schedule at exactly this stage: the difference between a thirty-year shower and a three-year shower is decided in the layers nobody sees, on the day before the tile goes on. Everything above is what separates a tile job that passes the walkthrough from one that lasts, and it is the whole reason we run this check on every build. For the full scope of how we handle a shower, see our bathroom remodel and shower build service and our tile installation service.
Frequently Asked Questions
- How do I know if my shower is ready to tile?
Your shower is ready to tile when five things are true: the waterproofing membrane is continuous and unbroken through every corner and penetration, the walls are flat within 1/4 inch over 10 feet, the pan slopes at least 1/4 inch per foot to the drain and clears a cup of water, the substrate is solid with no flex underfoot, and every inside corner and change of plane is reinforced and sealed. If any of those fails, the shower is not ready, and fixing it now is far cheaper than after the tile is on.
- How flat does a shower wall need to be before tiling?
Under the ANSI A108.02 standard, a shower wall must be flat within 1/4 inch in 10 feet for tile with edges shorter than 15 inches, and within 1/8 inch in 10 feet for large-format tile 15 inches or longer. Flatter is required for bigger tile because a long tile telegraphs every hump in the wall as lippage or a hollow void. Lay a straightedge across the wall and look for daylight under it to check.
- How can you tell if the shower waterproofing was done right?
Check that the membrane covers every wet surface with no bare backer board showing, that every inside corner and the curb carry a preformed corner or reinforcing band, and that the valve and niche have sealed collars or flashed edges. The floor membrane should overlap and bond to the wall membrane so there is no open seam at the pan. Ask for photos of this stage before tile, because once the tile is on there is no way to verify it.
- How much slope does a shower floor need to drain?
A shower floor needs a minimum slope of 1/4 inch per foot toward the drain, and both the finish slope and the pre-slope under the membrane have to have it. Test it by pouring a cup of water on the far edge of the pan and watching it run to the drain with nothing left standing. Pooling water, flat spots, or a back-pitch toward a corner all mean the pan is not ready and will hold water under the tile.
- Is it too late to check once the tile is going up?
It is not too late to stop, and stopping is almost always cheaper than continuing over a bad substrate. If the tile has just started and you spot a skipped corner, a flat pan, or bare waterproofing, pause the work and fix the layer underneath before more tile goes on. A day of delay costs far less than a tear-out in year two, and a good installer will welcome the check rather than rush past it.
Run the Check Before the First Tile Goes On
So, is the shower ready to tile? Run the substrate check first: waterproofing continuous and tested, walls flat within 1/4 inch over 10 feet, the pan sloped 1/4 inch per foot so water clears the drain, corners and penetrations sealed, and the floor solid underfoot. Every one of those is a cheap fix now and a tear-out later, which is exactly why the day before tile is the moment that decides whether a shower lasts three years or thirty. If you are planning or grading a shower build in Monmouth or Ocean County and want an honest read on whether it is ready to tile, call or text JL Tile & Stone at (848) 210-1946, or book a free shower assessment. We will walk the space, run the check with you, and tell you straight whether it is ready or what it needs first. Serving Monmouth and Ocean County only, from Toms River and Brick up through Red Bank and Point Pleasant.