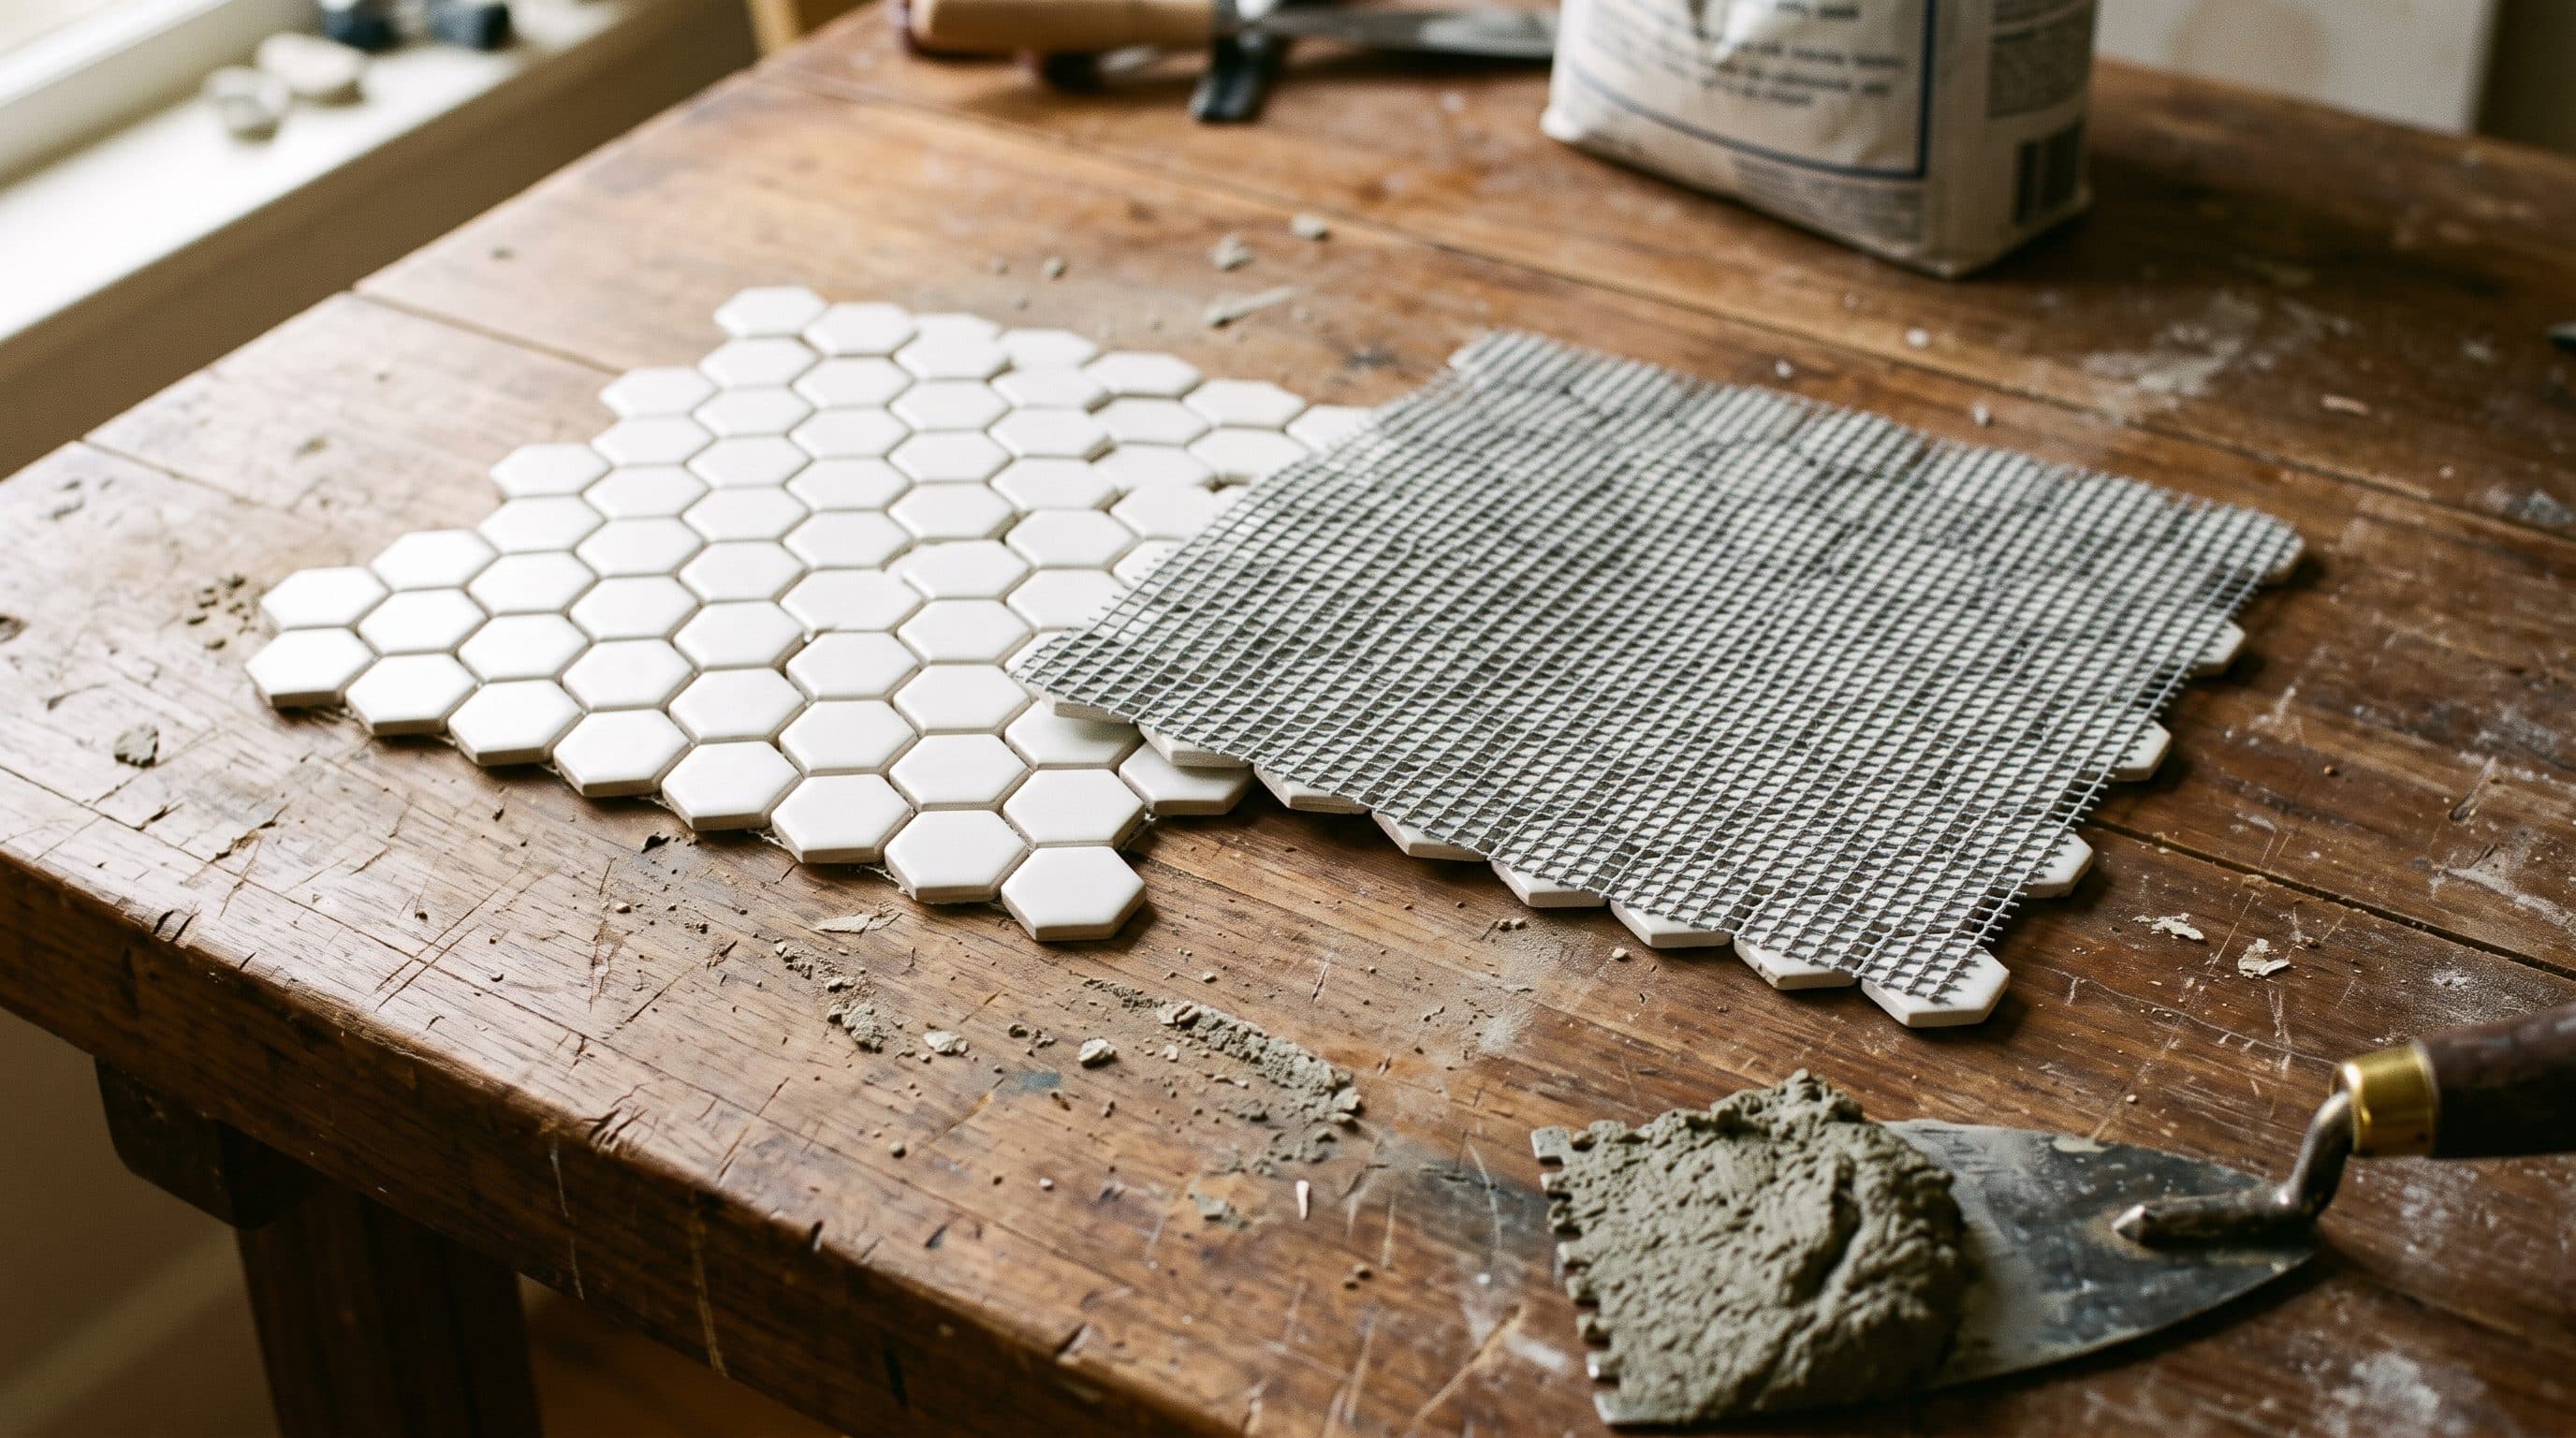
Sometimes he is right, and on a 1 inch hex penny floor in a wet area he usually is. Pulling the mesh off a mosaic sheet is a real technique with a real reason behind it, not a line invented to pad an invoice. It is also slow, and on plenty of jobs it is unnecessary. The honest answer is that it depends on where the tile is going and what is on the back of the sheet, and you can check both of those yourself in about two minutes. Updated October 2026.
We get asked this most often by homeowners halfway through a bathroom, which is the worst time to be having the conversation and the most common time to have it. So here is how we decide on our own jobs.
What the mesh is actually doing
A mosaic sheet is a grid of small tiles held in alignment by something on the back or the face. That backing exists for one job only, which is to get 100 or so pieces onto the wall in the same orientation they left the factory in. Once the mortar grabs, the backing has no further purpose.
The problem is that it does not disappear. A nylon or fiberglass mesh sits between your thinset and the back of the tile, so instead of mortar bonding to porcelain, mortar bonds to mesh and the mesh holds the tile. That is fine in a dry wall application and it is how most backsplashes in Monmouth County are installed every day. In standing water it is a different question, because the adhesive holding the mesh to the tile is the weak link, and some of those adhesives soften when they stay wet.
That is the whole argument in one sentence. Mesh is a bond breaker, and whether that matters depends on how wet the location gets and how much coverage you can achieve around it.
Face mounted or back mounted, and how to tell
Before anybody pulls anything, find out which kind of sheet you bought. Flip one over.
If you see mesh bonded to the back of every piece, that is back mounted, and it is the common one. If you see a paper or clear plastic film on the front of the tile and a bare back, that is face mounted. Face mounted sheets are designed to be set face film and all, then the film is soaked and peeled off after the mortar sets. Nobody removes anything before installation on those, and a contractor proposing to is confused about the product.
There is a third kind worth knowing. Some sheets use dots of adhesive at the corners instead of a full mesh, usually on glass mosaics. Those leave most of the tile back open already and there is nothing to gain by stripping them.
So: back mounted mesh is the only version where this conversation applies at all.
Where we pull it and where we leave it
Our rule is about water and about what is under it.
On a shower floor, we pull it. Small format mosaic is on shower floors because the sheet can follow the slope to the drain, which means it is the one place in the house where the tile is wet for hours a day, sitting on a slope, over a membrane that has to stay sound. We want mortar on porcelain there with full coverage, not mortar on nylon. It takes an extra hour or two a sheet, and that is time we would rather spend.
On a backsplash, we leave it. A kitchen backsplash gets splashed and wiped. The bond is not under any real stress, the coverage through a mesh is plenty for a vertical dry application, and stripping it introduces its own risk, which is that the pieces shift out of alignment once nothing is holding them. The fan pattern on the art deco backsplash we did is a good example. That geometry only reads correctly because the sheet held its spacing.
Shower walls sit in between, and we decide on the job. If it is a steam shower or a wall that takes direct spray, we treat it like the floor.
What goes wrong when it is stripped badly
This is the part that argues for leaving a competent installer alone and against hiring the cheapest one.
Pulling the mesh means soaking the sheet or peeling it dry, then setting 100 loose pieces individually while holding the pattern and the joint width. Done well, it is invisible and the bond is better. Done badly, you get wandering grout lines, a grid that drifts out of square across the floor, and pieces set at slightly different heights so the floor feels rough underfoot. On a hex pattern the eye catches a drift of even a sixteenth across a run, because the pattern is a repeating geometry and nothing hides it.
The other failure is slower. If the installer strips the mesh but does not back butter and does not achieve real coverage, you have done the work and still have voids. Hollow spots under a shower floor eventually telegraph as cracked grout and a tile that sounds different when you tap it. We wrote about reading that sound in why tile sounds hollow, and it is the same failure arriving later.
Does it change what you should pay
Yes, and it should be on the estimate as its own line rather than folded into a square foot price.
Stripping mesh is labor and nothing else. It is reasonable for an installer to charge for it on a shower floor and it is reasonable for you to ask what the number is. What is not reasonable is a contractor who announces it mid job as a surprise, after the material is on site, with no price attached. That is a scope conversation that should have happened at the estimate, and if it did not, you are allowed to ask why.
Ask for coverage too while you are asking. The thing that actually protects you in a wet area is mortar coverage on the back of the tile, and pulling one set piece up early in the job to look at the back is the only way anyone knows for sure. A good installer does that check without being asked and will show you the piece.
What the finished floor should look like
Uniform joints, a pattern that stays square across the whole run, no lippage you can feel with a bare foot, and grout that is the same width in the field as it is at the sheet seams. That last one is the tell. If you can see where one sheet ended and the next began, the sheets were set as units and the seams were not adjusted, and that happens whether or not the mesh came off.
If you are picking material now rather than fixing a job in progress, choosing a backsplash tile covers the selection side, and large format installation covers the opposite end of the same problem, where the tile is big enough that flatness becomes the whole job. The rest of the finished work is on our portfolio if you want to see how the small format stuff reads in a real room.