Most tile details that look like skill are really hours. A mitered outside corner, a tile cut to wrap a pipe instead of a cover plate, a niche that lines up with the grout grid, a pattern carried around a window: each one is a slower way of doing something that has a faster, perfectly sound alternative. When a detail "wasn't possible at your budget," the honest translation is usually that nobody priced the extra time for it, and nobody told you there was a choice.
Updated October 2026.
We hear the question after the fact, from someone looking at a finished bathroom that is fine everywhere except one spot. A chunky plastic trim around a toilet supply line. A metal edge where they pictured a clean mitered corner. A niche that floats half a tile off the grout line. Installers argue about this online constantly, and the split is usually the same: one camp says the detail is a defect, the other says that is what the job was priced for. Both can be right about the same wall.
The details that cost hours, not materials
Material cost barely moves on any of these. What moves is the time a setter spends on one square foot instead of ten.
- Mitered outside corners. Two tiles cut at 45 degrees and joined so no edge shows. Every miter is a slow, precise wet-saw cut, and on a niche or a window return there can be dozens. The faster alternative is a metal or PVC edge profile, which is sound, waterproof and protects the edge.
- Cuts around pipes and supply lines. A hole cut to the pipe's exact size so an escutcheon covers it cleanly takes time to measure, drill and fit. The quick version is a larger cut hidden behind a trim ring or a cover plate. It works. It just looks like what it is.
- Grid alignment. Planning the layout so a niche, a valve and a shower head all land centered on grout lines means working the whole wall out on paper before the first tile goes up, and sometimes moving framing or rough plumbing to suit. Skip that and everything still works; it simply lands wherever the tile runs out.
- Pattern continuity. A herringbone or a large veined tile carried around corners and into a niche so the pattern reads as one piece. That costs layout time and extra tile, because matching means cutting around the waste.
What the faster version looks like, and when it is fine
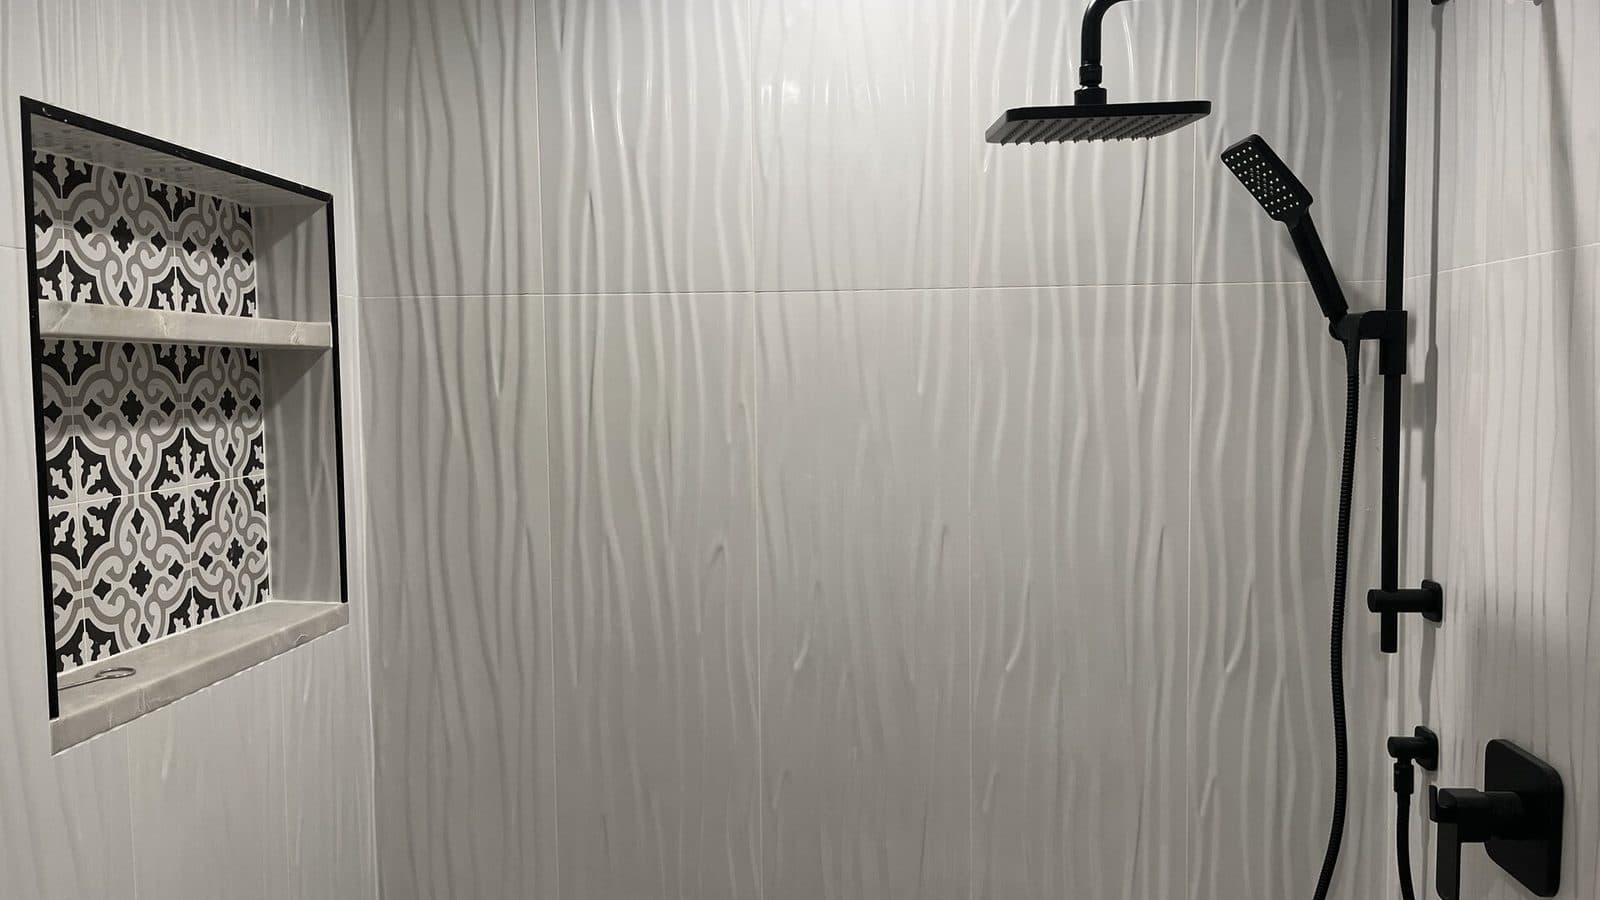
The shower in the photo above is from one of our Red Bank jobs. The niche is finished with a slim black metal edge and a stone shelf, not mitered tile. That was a choice, not a shortcut: the wall tile has a ribbed, wavy face, and mitering a textured glazed tile exposes the body color at the joint and leaves a wave that never quite meets itself. A metal edge is cleaner on that tile, and it matched the black fixtures.
That is the useful test. A trim profile, a cover plate or an off-grid niche is fine when it was chosen and it suits the tile. It is a disappointment when it was the default and nobody mentioned an alternative existed.
Defect, or budget outcome?
Here is where we draw the line, and it is a line with numbers on it.
A budget outcome is a sound, waterproof, flat installation that uses the faster version of a detail. A defect is something that fails a standard regardless of what you paid. The clearest example is lippage, the step between two neighboring tiles. Under ANSI A108.02 the allowance is 1/32 inch plus the tile's own warpage when grout joints are under 1/4 inch, and 1/16 inch plus warpage when they are 1/4 inch or wider. A step past that is a defect on a cheap job and on an expensive one. We walk through measuring it in acceptable tile lippage.
The same logic covers the rest. A cracked tile, a hollow-sounding area across a large section, grout that is missing or crumbling, a cut that leaves raw edge exposed where water hits it: none of those are budget decisions. A plastic trim ring where you pictured a tight cut usually is.
Get the details in writing before the work starts
If one detail matters to you, say so before the job is priced, and get the answer written into the proposal. Specifically:
- How outside corners will be finished: mitered, or which edge profile and in what color.
- How pipe and valve penetrations will be cut and trimmed.
- Whether the niche, valve and shower head are being laid out to the grout grid, and on which wall.
- Whether a patterned or veined tile is being matched around corners, and how much extra tile that takes.
A good installer will tell you which of these change the price and by roughly how much. That conversation takes ten minutes at the estimate and saves the argument at the final walkthrough. If you are comparing bids, this is also why two numbers for the same bathroom can differ so much; our breakdown of tile installation cost per square foot covers where the rest of the gap comes from.
We would much rather have that conversation at the estimate than at the walkthrough, so you know which version you are getting before anything is set. If you want that conversation about your own bathroom, start with our tile installation page. And once the work is done, our checklist for inspecting a tile installation covers what to look at before the last payment.